When we work with tasks we have the possibility of using the same function for more than one tasks. With timers is the same case, we have the macro “OS_TIMER_CREATEEX()” to pass a void pointer as parameter, so, lets check the following example.
#include "bsp.h"
#include "RTOS.h"

static OS_TIMER_EX Timer0, Timer1;      //* Now we have to use this control structure type

static void Callback(void* Parameter);

int main( void )
{
    OS_Init();      // Initialize embOS (must be first)
    HAL_Init();
    OS_InitHW();   // Initialize Hardware for embOS

    __HAL_RCC_GPIOC_CLK_ENABLE( );                  //* Enabling the GPIO C clock

    GPIO_InitTypeDef GPIO_InitStruct;               //* GPIO Initialization struct

    GPIO_InitStruct.Mode  = GPIO_MODE_OUTPUT_PP;
    GPIO_InitStruct.Pull  = GPIO_NOPULL;
    GPIO_InitStruct.Speed = GPIO_SPEED_FREQ_HIGH;
    GPIO_InitStruct.Pin   = GPIO_PIN_0 | GPIO_PIN_2;
    HAL_GPIO_Init( GPIOC, &GPIO_InitStruct );       //* Initializing GPIO C to use it in our callback

    OS_TIMER_CREATEEX(&Timer0, Callback, 200u, (void *)GPIO_PIN_0 );       //* Creating the software timer passing the pin 0 as parameter
    OS_TIMER_CREATEEX(&Timer1, Callback, 500u, (void *)GPIO_PIN_2 );       //* Creating the software timer passing the pin 2 as parameter

    OS_Start();     // Start multitasking

    return 0u;
}

static void Callback(void* Parameter)
{
    HAL_GPIO_TogglePin( GPIOC, (uint16_t)Parameter );   //* Here is where we use the void pointer. A cast to uint16_t is needed
    OS_TIMER_RestartEx( OS_TIMER_GetCurrentEx() );      //* When we are workink with extended timers we have to use the "EX" functions

}
SYSTEMVIEW
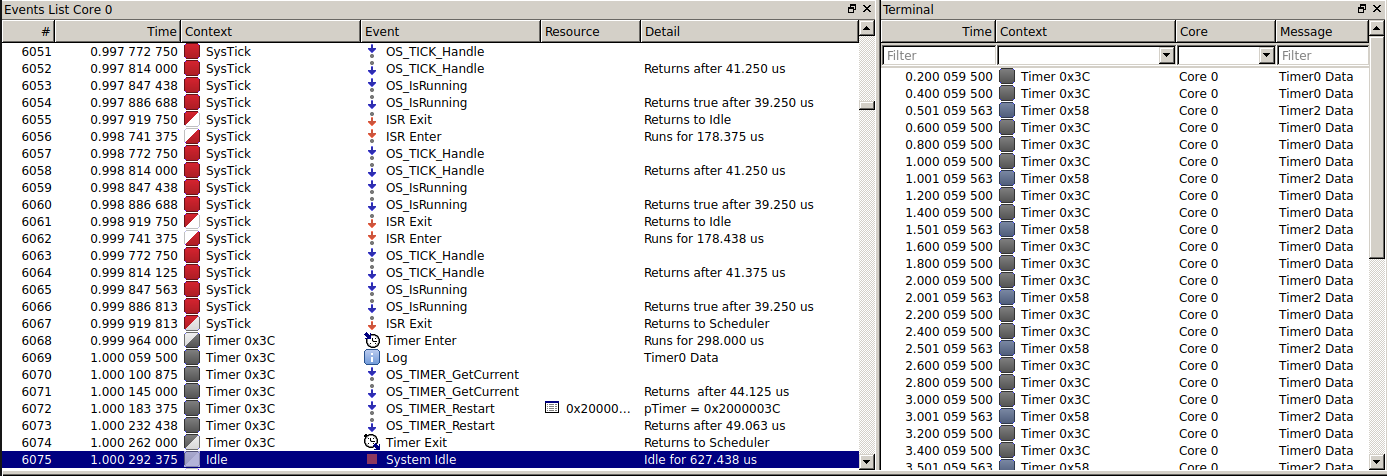
Build and flash the program and run systemview. First, let's look at the entire recording on the timeline. As you can see, the timers are running according with the established time.

Looking closer you can notice how the timers are running.

In the event list and terminal window you can see the behavior of both timers in more detail.