It is not my intention to repeat information that is already well-written in a post by Javier Lobato. Instead, I will go through some examples using SEGGER GUI tools like Ozone and SystemView. If you would like to read the original post (I encourage to do it), you can find it here: https://www.baeldung.com/linux/docker-container-gui-applications
First things first, we need to take a few steps before being able to run Docker with GUI programs. Open the file /etc/ssh/ssh_config with root privileges and uncomment the following line, setting it to 'yes':
$ sudo nano /etc/ssh/ssh_config
...
ForwardX11 yes
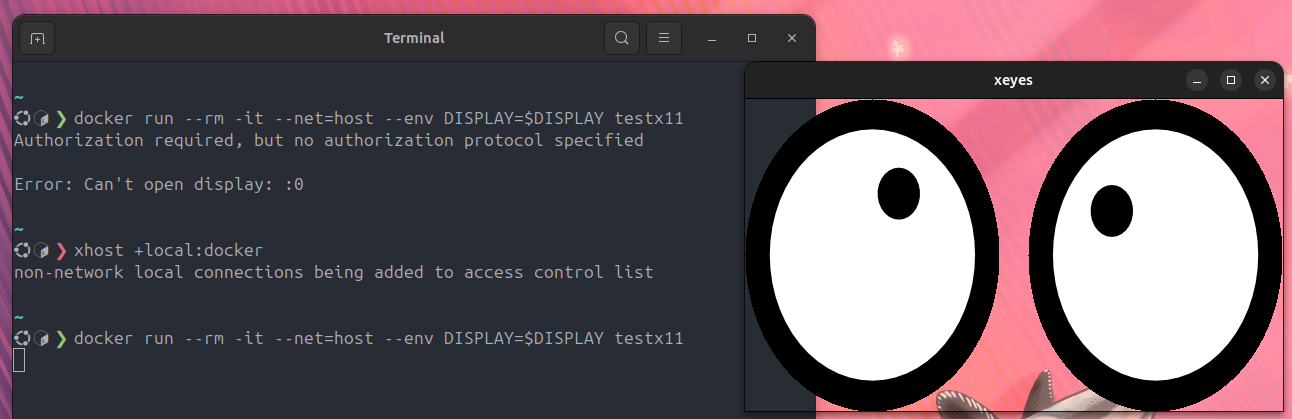
...Once that's ready, we need to forward the X server port into Docker using the line below, also with root privileges. You may need to install xhost first by running sudo pacman -S xorg-xhost. On Ubuntu, this is not necessary, but you will still need to run the command everytime you reboot your computer.
$ sudo xhost +local:docker
non-network local connections being added to access control list
Write the following dockerfile to launch a simple X11 app and test everything is according to what we expect
FROM ubuntu
RUN apt-get update && apt-get install -qqy x11-apps
ENTRYPOINT ["xeyes"]
build the container
$ docker build -t testx11 .And run the image adding the flags --net=host and the environment variable DISPLAY. Notice this time we are connecting our container to our local machine in a local network, instead of a bridge network like we used to do in previous posts.
$ docker run --rm -it --net=host --env DISPLAY=$DISPLAY testx11You will see a simple application running in your container that follows the cursor. Just close the window to stop the container. This confirms that we can run a graphical application using Docker. While this isn't the only way to achieve it, it is the simplest and more than enough for our purposes, I would say.
SEGGER Ozone
Let’s try something more useful, like creating an image with the wonderful debugger SEGGER Ozone. Write the following Dockerfile, but first, switch the ST-Link from your Nucleo board to a J-Link, following the instructions here. Unfortunately, for this, we'll need a Windows machine, but no worries—virtualization to the rescue. Now, write the following Dockerfile to run Ozone inside:
FROM ubuntu:latest

#install some dependencies
RUN apt-get update && apt-get install -qqy wget libxrandr2 libfreetype6-dev libsm6 libxfixes3 libxcursor-dev

# download from segger website Ozone, latest version
RUN wget --post-data "accept_license_agreement=accepted" https://www.segger.com/downloads/jlink/Ozone_Linux_x86_64.deb \
    && dpkg -i ./Ozone_Linux_x86_64.deb \
	&& rm ./Ozone_Linux_x86_64.deb

#run Ozone as soon as the image is running
CMD ["ozone"]
Build and run the container to see the ozone program is up and running
$ docker build -t ozone .
$ docker run --rm -it --net=host --env DISPLAY=$DISPLAY ozone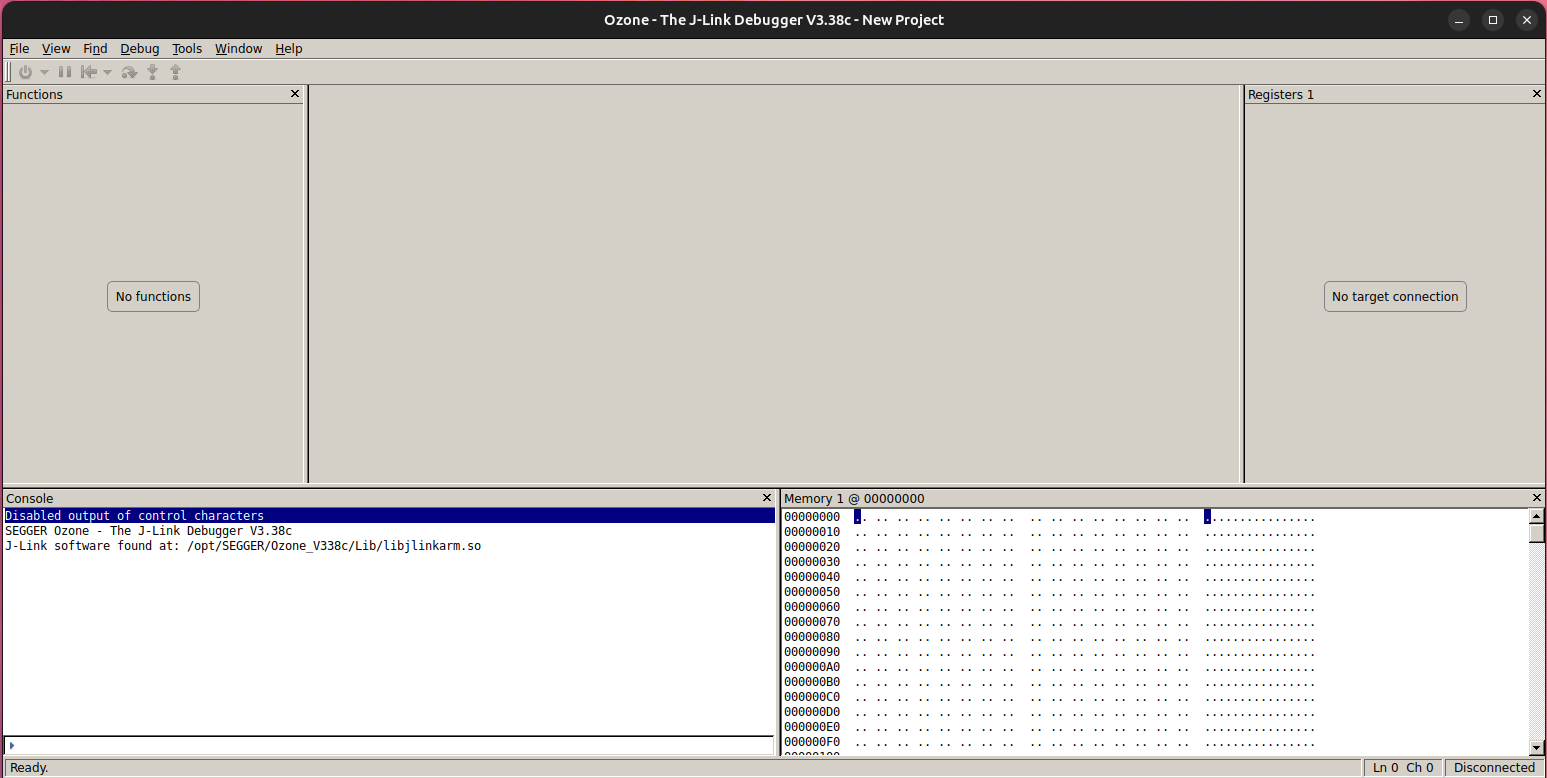
Okay, perfect, but it doesn't do anything. I know, we’re going to load a program, and for that, we’ll go back to our template project for the Nucleo G0. Using the command line, navigate to the directory of the cloned project and run the image again, but this time mount the folder to a directory inside the container.
Use the following command to run the container, besides the new paramter you can see some old ones we use at previous posts
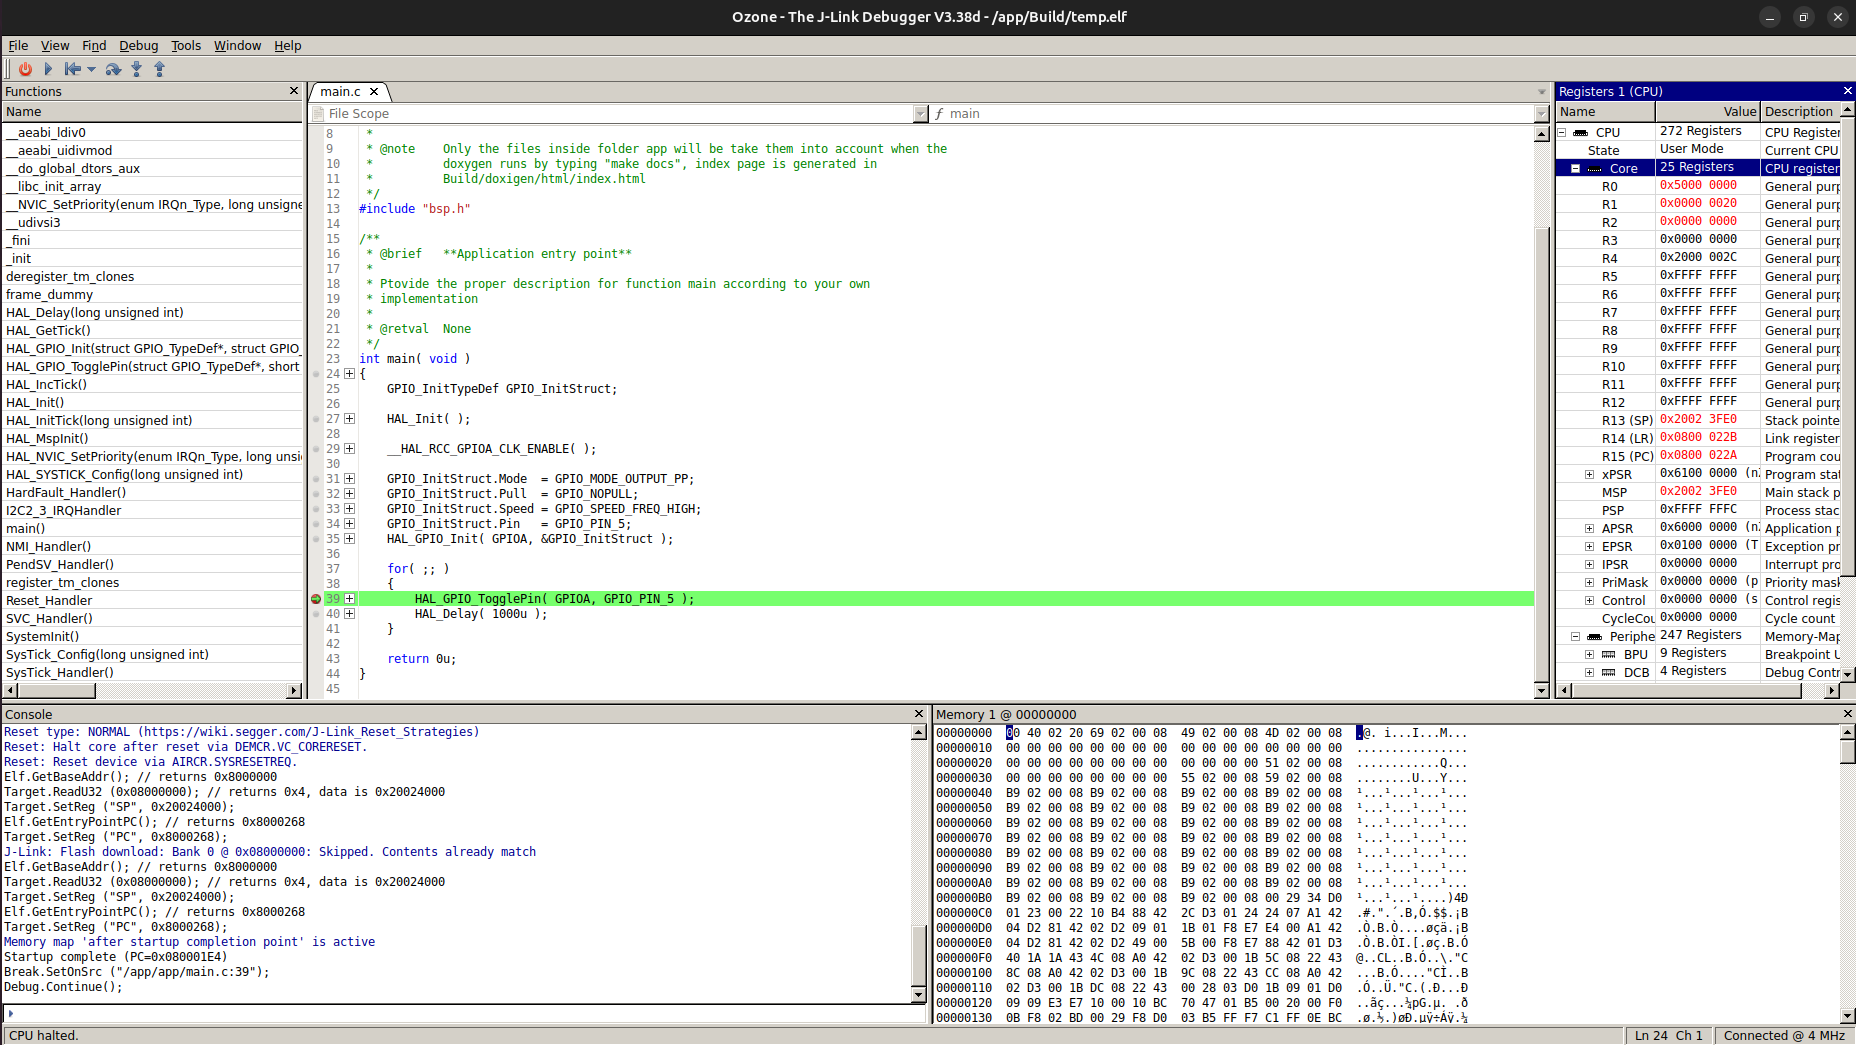
$ docker run --rm -it --net=host --env DISPLAY=$DISPLAY --mount type=bind,src="$(pwd)",dst=/app --device=/dev/bus/usb:/dev/bus/usb ozoneLoad your program by entering the correct parameters in Ozone ( just use the correct part number: STM32G0B1RE ) and click the green button in the top left corner. If you're not sure how to use Ozone, I recommend checking SEGGER's documentation Ozone – The Performance Analyzer
Ok that was cool, but before going to the next topic, you should remember compose is there to help us with those super long docker command lines, the previous container can be run in the following way with compose
services:
  ozone:      # container name been used by the image to run ozone
    image: ozone
    devices:        # device mapping to usb ports
      - /dev/bus/usb:/dev/bus/usb
    volumes:        # volume mapping
      - type: bind
        source: ./
        target: /app
    environment:
      - DISPLAY=${DISPLAY}
    network_mode: host
    command: ozone
After that, you just run your container with compose as we did again on previous posts ( remember to be in the same directory your compose file is, otherwise you will need to specify the path )
$ docker compose upJ-Link
Hey, but what about the J-Link tools? Oh, I love those tools! There are several that allow you to interact with a target and do more than just open a connection, like J-Link Commander or the Remote Server, just to name a few. Some of the tools run in pure CLI, while others come with a pretty GUI. J-Link requires more dependencies than Ozone and even some tricks to complete the installation, which is why you see the extra lines
FROM ubuntu:latest

RUN apt-get update && apt-get install -qqy wget libxrandr2 libfreetype6-dev libsm6 libxfixes3 libxcursor-dev \
	libxcb-render-util0 libxcb-randr0 libxcb-shape0 libxcb-image0 libxkbcommon-x11-0 libx11-xcb1 libx11-xcb1 \
	libxcb-icccm4 libxcb-sync1 libxcb-keysyms1 libxcb-xfixes0 libglib2.0-0

RUN wget --post-data "accept_license_agreement=accepted" https://www.segger.com/downloads/jlink/JLink_Linux_x86_64.deb \
    && dpkg -i ./JLink_Linux_x86_64.deb \
	&& rm ./JLink_Linux_x86_64.deb
	&& rm -f /var/lib/dpkg/info/jlink.postinst \
	&& dpkg --configure jlink \
	&& apt install -yf \
	&& rm ./JLink_Linux_x86_64.deb
Build and run the container as you did previously with Ozone, but this time there is no application to run immediately. Instead, once the container is running, you can call any of them, such as the GDB Server in CLI mode.
JLinkGDBServerExe -if SWD -device stm32g0b1reConnecting GUI container trough bridge network
"One of the problems with the X forwarding method for running GUIs is that you need to connect your Docker container to the local host network, which comes with its own set of isolation issues. But what if we want to connect the container using a bridge network (the reasons for this may vary)? In that case, you need to mount the Linux folder /tmp/.X11-unix
$ docker run --rm -it --env DISPLAY=$DISPLAY --mount type=bind,src=/tmp/.X11-unix,dst=/tmp/.X11-unix ozoneWith this in place, you can freely create a network to be used by this container and others. To provide a more relevant example, we will run the JLinkRemoteServer in our JLink container, connected to our internal network, and then run the Ozone container—all of this using a compose file
name: segger
services:
server: # container name been used by the image to connect to openocd
image: jlink # container name
ports: # port mapping
- 2331:2331
devices: # device mapping to usb ports
- /dev/bus/usb:/dev/bus/usb
networks:
static_net: # use network static_net
ipv4_address: 172.25.0.3 # assing ip address to container
command: JLinkRemoteServer -Port 19020
ozone: # container name been used by the image to run ozone
image: ozone
volumes: # volume mapping
- type: bind
source: ./
target: /app
- type: bind
source: /tmp/.X11-unix
target: /tmp/.X11-unix
depends_on: # run until open_server is up and running first
- server
environment:
- DISPLAY=${DISPLAY}
networks:
static_net: # use network static_net
ipv4_address: 172.25.0.2 # assing ip address to container
command: ozone
networks:
static_net: # network name to be used by containers
driver: bridge # network driver
ipam:
config: # network configuration
- subnet: 172.25.0.0/16 # network subnet
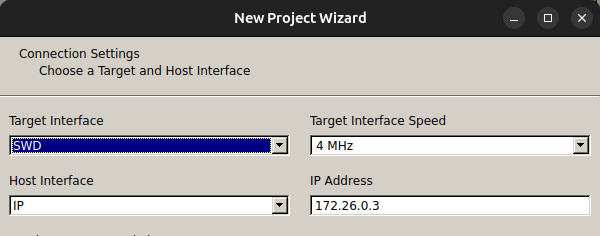
gateway: 172.25.0.1 # network gatewayIf you run the compose file above, the JLink Remote Server will run in the background, and the Ozone window will appear. Just proceed as usual, but this time select the IP connection and use the JLink container address assigned in the compose file (in the image, the address is 172.26.0.3, but in our compose file, it is 172.25.0.3).
If you want Ozone load your elf file and connect to Jlink remote server as soon as it starts, just call ozone with the following options (extracted directly from the ozone user manual).
command: ozone -device stm32g0b1re -if SWD -speed 4000 -port 19020 -ip 172.25.0.3 -programfile /app/Build/temp.elfRunning Systemview
Systemview is one of the best applications you can use to visualize the tasks of an operating system. To do this, we need our program to be running in a debug session with Ozone. Once it’s running, we’ll connect the container running Systemview via IP. But first, we will create the image
FROM ubuntu:latest

RUN apt-get update && apt-get install -qqy wget libxrandr2 libfreetype6-dev libsm6 libxfixes3 libxcursor-dev

RUN wget --post-data "accept_license_agreement=accepted" https://www.segger.com/downloads/systemview/SystemView_Linux_V360a_x86_64.deb \
    && dpkg -i ./SystemView_Linux_V360a_x86_64.deb \
	&& rm ./SystemView_Linux_V360a_x86_64.deb
You can run the container as usual, but it won't work. Why? Because, as far as I know, Systemview requires JLink to be installed in the same container. I haven’t found a way to connect it to another container running the JLinkRemoteServer using an IP, (LAN or Tunel). I'm not sure if this is even supported, And here is another thing SEGGER requires to register before download Systemview and a direct download using wget is not going to work.

After download systemview (make sure is the DEB version) rewrite the Dockerfile to replace wget for the COPY command and well, copy the installer to the container
FROM ubuntu:latest

RUN apt-get update && apt-get install -qqy wget libxrandr2 libfreetype6-dev libsm6 libxfixes3 libxcursor-dev

COPY SystemView_Linux_V360d_x86_64.deb SystemView_Linux_V360d_x86_64.deb
RUN dpkg -i ./SystemView_Linux_V360d_x86_64.deb && \
	rm SystemView_Linux_V360d_x86_64.deb
The only workaround is to install all the SEGGER tools in the same container, which is not something I like to do, to be honest, because it breaks my rule of isolation. But, well, this is the only way I could get Systemview to run.
FROM ubuntu:latest

# Instal all depedencies
RUN apt-get update && apt-get install -qqy wget libxrandr2 libfreetype6-dev libsm6 libxfixes3 libxcursor-dev \
	libxcb-render-util0 libxcb-randr0 libxcb-shape0 libxcb-image0 libxkbcommon-x11-0 libx11-xcb1 libx11-xcb1 \
	libxcb-icccm4 libxcb-sync1 libxcb-keysyms1 libxcb-xfixes0 libglib2.0-0

# Download and install the JLink software package
RUN wget --post-data "accept_license_agreement=accepted" https://www.segger.com/downloads/jlink/JLink_Linux_x86_64.deb \
    && dpkg -i ./JLink_Linux_x86_64.deb \
	&& rm ./JLink_Linux_x86_64.deb
	&& rm -f /var/lib/dpkg/info/jlink.postinst \
	&& dpkg --configure jlink \
	&& apt install -yf \
	&& rm ./JLink_Linux_x86_64.deb

# download from segger website Ozone, latest version
RUN wget --post-data "accept_license_agreement=accepted" https://www.segger.com/downloads/jlink/Ozone_Linux_x86_64.deb \
    && dpkg -i ./Ozone_Linux_x86_64.deb \
	&& rm ./Ozone_Linux_x86_64.deb

# download from segger website Systemview manually then copy the installer
COPY SystemView_Linux_V360d_x86_64.deb SystemView_Linux_V360d_x86_64.deb
RUN dpkg -i ./SystemView_Linux_V360d_x86_64.deb && \
	rm SystemView_Linux_V360d_x86_64.deb
You can run any of the tools first I advice to run Ozone first, like this, notice we are given the “debugger“ name to our container
$ docker run --rm -it --net=host --env DISPLAY=$DISPLAY --mount type=bind,src="$(pwd)",dst=/app --device=/dev/bus/usb:/dev/bus/usb ozone --name debuggerThen using another terminal you can open a new connection to our running container, using the following syntax docker exec -it <container name> <program to run>
$ docker exec -it debugger systemviewIf you do not know how to work with Systemview please take a look at segger documentation
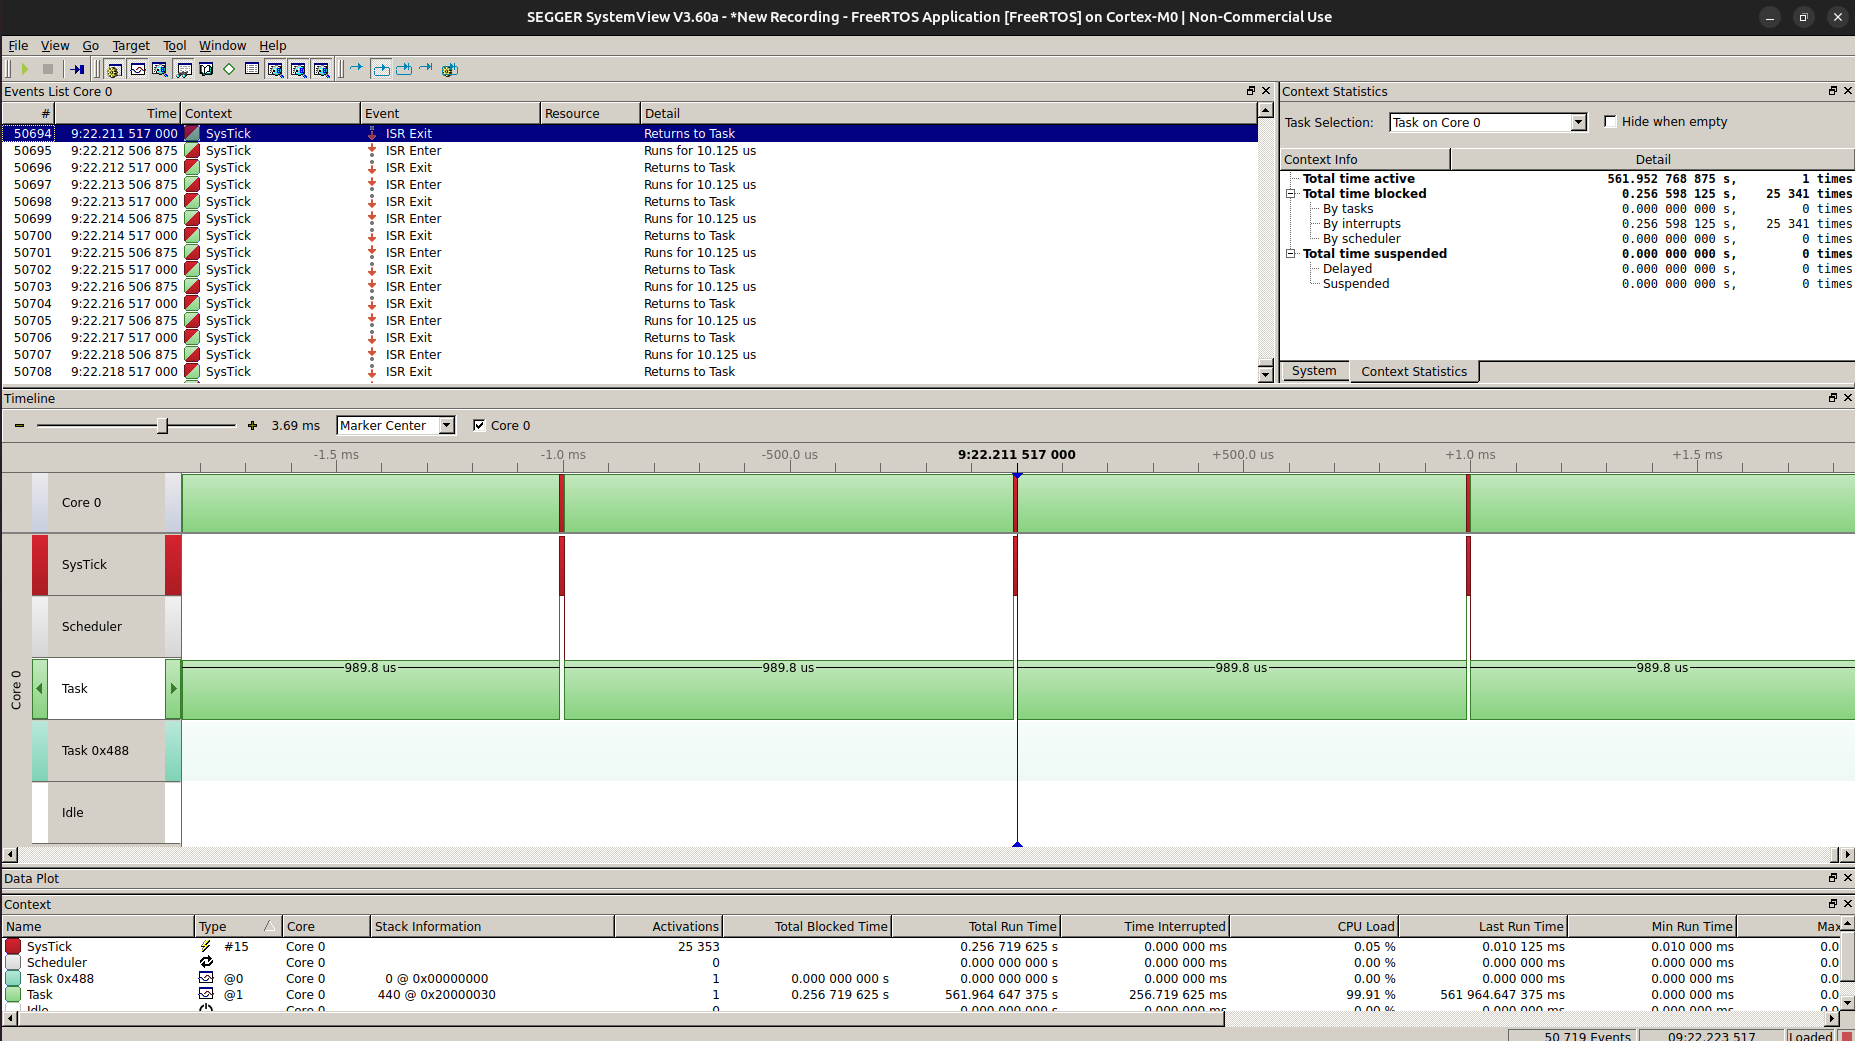
So far so good, as you can see we decided to use an Ubuntu to build our images with the segger tools but in theory you can do this with any other image, you just need to take care of installing the needed dependencies, something that by itself can be a challenge.
Windows
Well, we don’t do that here. But hey, I know some of you like the hard way, so the only thing you need to take care of is running an X server on Windows. Check out the following YouTube video. However, if you’ve been following my advice and are running WSL on Windows with everything installed as I mentioned here, you don’t need to change anything. Every instruction should be as transparent as if you were working on a Linux machine.
DockerX11
There is another parallel project called DockerX11 with a better support to run GUI apps on container that maybe is worthy of your time to take a look