Just like with any microcontroller, you'll need to install a set of tools to work with this robust diesel truck equivalent. There are several options available, but most require a paid license. Fortunately, the first one is completely free and easy to use, although it does limit you to using Eclipse for compilation and debugging.
The IDE + Tasking Compiler
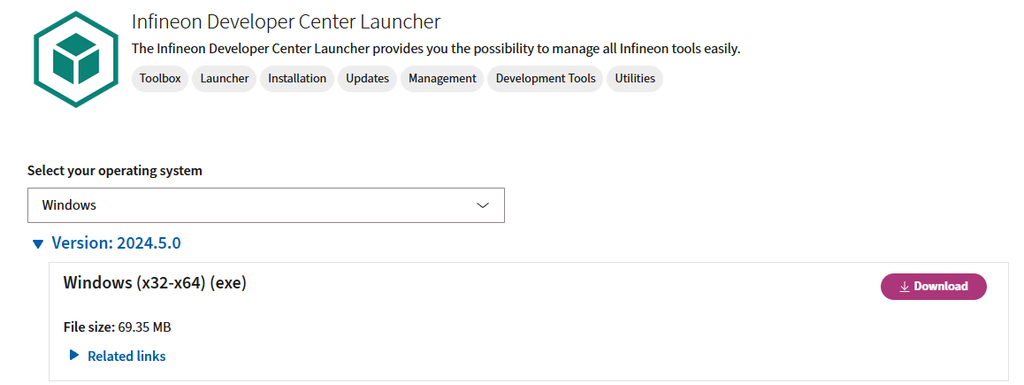
Got to Infineon web page and download the Infineon™ Development Center using the following link Infineon Developer Center Launcher - Infineon Technologies It is necessary to register using your company email. Install the software with Quick Installation option
Open the recent installed software and look for the AURIX Development Studio and proceed to install

The IDE is eclipse based and is a no brain task to use it, at least the most basic functions, I have no intention to teach you all details of this IDE (because i don’t really like IDEs at all), but here are the most basic controls you will use 98% of the time:
- To create a new project, File → New → New AURIX Project
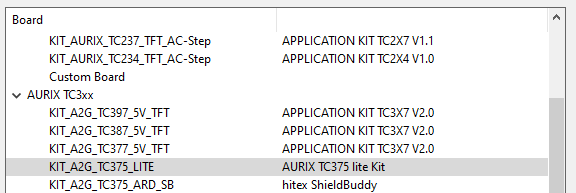
- Give name and then Next, on the Board select TC375xx lite Kit
The controls to build and debug are:
- Build

- Build from Scratch

- Enter Debug Mode

- Once in debug mode these are the controls to run the code, pause, run step at the time, etc..

- To switch between debug and editor view you can use

Installing Hitech Compiler as secondary option
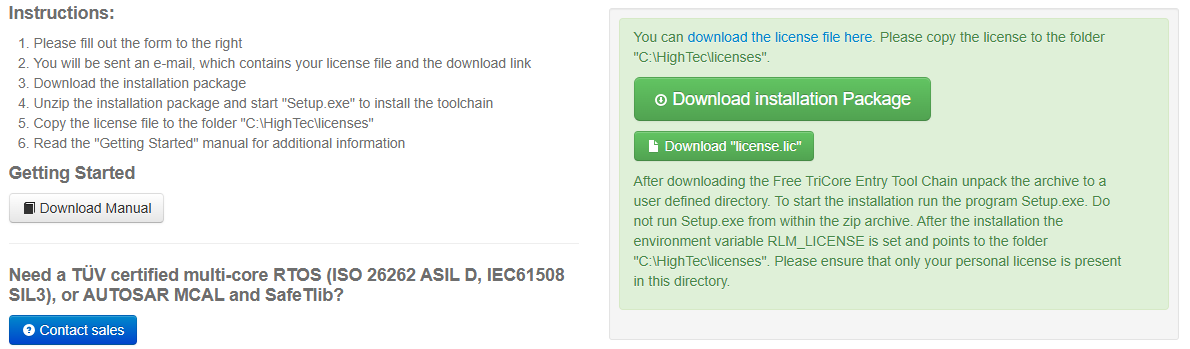
We can opt for an alternative compiler, one that is based on the renowned GCC/LLVM, which happens to be my favorite. This is a viable choice if we don't want to be restricted to compiling within an Eclipse environment and would rather create our own classic makefile. Simply follow the provided link and complete the registration form Free TriCore™ Entry Tool Chain - Activation & Download to request a free evaluation license for the Tricore Entry Tool Chain, that will be valid for one year, Just follow the instructions from the page.
It is up to you to decide if install or not the IDE, after all remember we already have the AURIX Studio and we are only for the compiler with Hightech
To work and compile in your preferred terminal, simply create a project in AURIX Studio, then copy the folder to a different location, and remove the unnecessary files from Eclipse. Your project tree should resemble the following:
tree -L 1
.
├── Configurations
├── Cpu0_Main.c
├── Cpu1_Main.c
├── Cpu2_Main.c
├── Lcf_Gnuc_Tricore_Tc.lsl
└── Libraries
You can create your own makefile, or if you prefer not to start from scratch, you can copy and paste the following basic one. Open a terminal and type 'make' to compile; binary files will be placed in the 'Build' folder.
$ make
mkdir -p Build/obj
tricore-gcc.exe -mtc162 -O0      ...
...
...
tricore-objcopy.exe -Oihex Build/Test.elf Build/Test.hex
tricore-objdump.exe -S Build/Test.elf > Build/Test.lst
tricore-size.exe --format=berkeley Build/Test.elf
   text    data     bss     dec     hex filename
  20682       0   37900   58582    e4d6 Build/Test.elf
Lauterbach PowerView (TRACE 32)
Fancy and super expensive options for people with tons of money, got to TRACE32 PowerView Software | Lauterbach and download the latest release of the TRACE32 Full Installation, fill the register form including your license number. Check your email, download, unzip and proceed to install using the setup file
Before proceeding, connect the Lauterbach using the AUTO10 connector to the DAP connector on the AURIX Lite kit. Ensure that the AURIX Studio debugger is not running. Check that both LED6 and LED5 are off. Now, it's time to flash and run your first program. Assuming you have the PORTS: Toggle LED code ready, create a file named flash_script.cmm in the same folder with the following content. This script will flash our device.
; --------------------------------------------------------------------------------
; initialize and start the debugger
RESet
SYStem.CPU TC375TP
CORE.ASSIGN 1. 2. 3. // assign cores to the SMP system
SYStem.Up

; optional settings:
SYStem.Option DUALPORT ON
SETUP.Var %SpotLight
MAP.BOnchip 0x0--0xffffffff // force onchip-breakpoints

; --------------------------------------------------------------------------------
; Flash programming
; prepare flash programming (declarations)
DO ~~/demo/tricore/flash/tc37x.cmm CPU=TC375TP PREPAREONLY

; enable flash programming
FLASH.ReProgram ALL

; load demo application
Data.LOAD.Elf "TriCore Debug (TASKING)/Test.elf"

FLASH.ReProgram OFF

; Display code only in C
Mode.HLL

; list code for the rest of the cores
List.auto /CORE 0.
List.auto /CORE 1.
List.auto /CORE 2.

; Run until main function from core 0
Go core0_main

ENDDO
Ok, Open TRACE32 PowerView a go to menu File → ChangeDir and Run Script… load the flash_script.cmm and voila, you are ready to debug
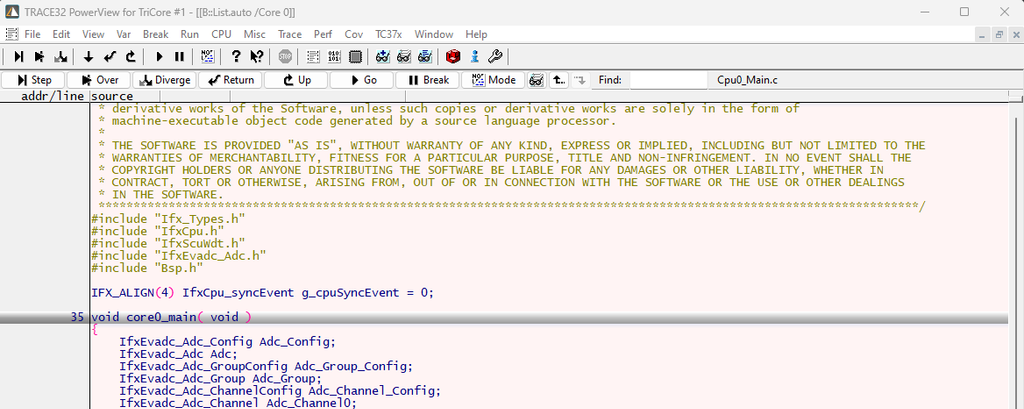
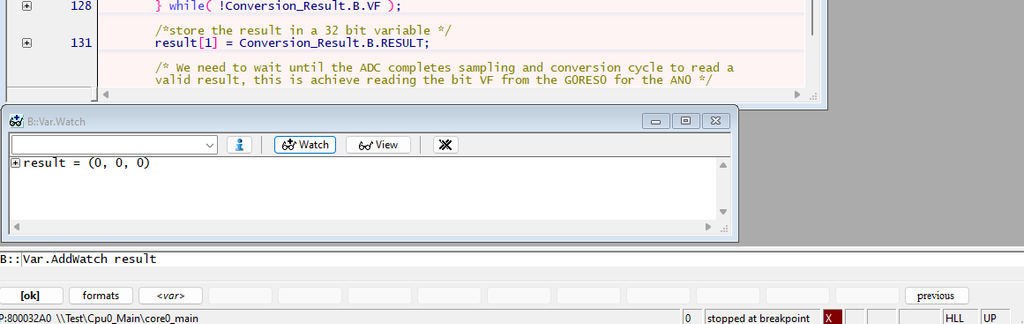
Certainly, there are many things we can accomplish with this debugger, and even more with its scripting language. In fact, our flash script is quite basic, but it serves as a good starting point. I would recommend using the command line instead of the GUI for debugging as much as possible, as it will aid in learning how to automate numerous tasks and utilize flash options. For example, here's how to display a variable in the watch window.