The first time you try to configure a project in Tresos can be a little scare and confusing, as a software engineer I’m not playing well with GUI base systems, i prefer writing code, I'm old school and really proud of it. But This is AUTOSAR and it is mandatory this GUI configuration systems, so, once you get to know this tool you will see it is pretty easy to use, actually it is pretty basic to be honest but at the same time powerful.
Adding and removing drivers or BSW units
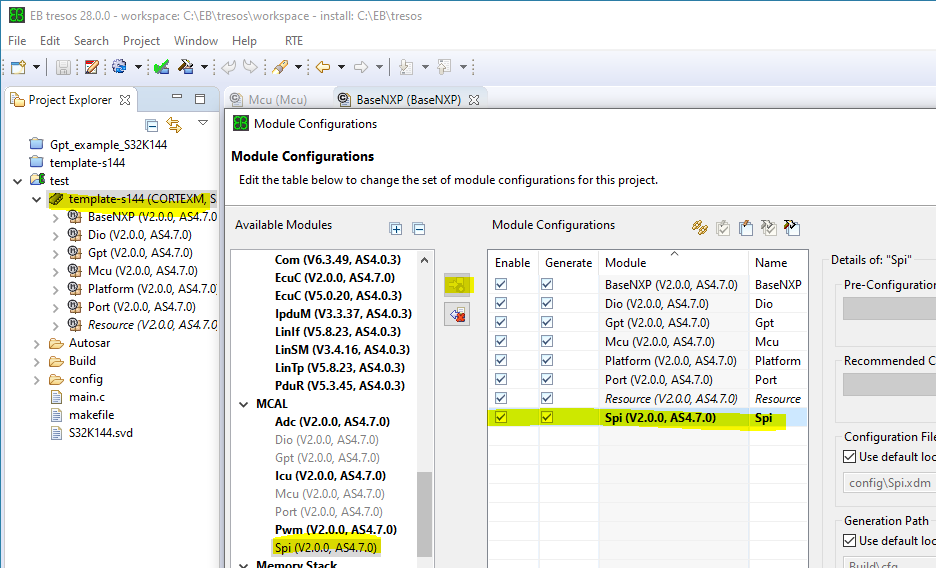
Left click in the project name and then click in Module Configuration, on the left column select the SW unit Module you want to add and the click “Add module configurations for selected modules“, then hit OK button, or to remove a module just do the opposite.
Auto calculate values
This really comes in handy when you are working with parameters that involve frequency values, for instance we are configuring the McuSystemOSCClockConfig and we decided to set SOSC Divider 2 by a value of 2, doing this we are force to write the resulting frequency in SOSC Div2 Frequency manually, ( the value is 4000000 ) or we can just click on the right icon “Set manually edited“
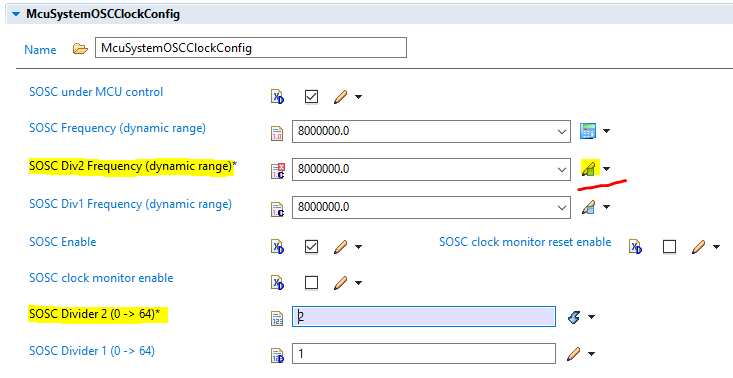
After that the icon is going to change to a little calculator called “Calculate Value“

Hit again and you will see the value change to 4000000 automatically. I personally use this feature a lot!!!

Tresos Built-in Help
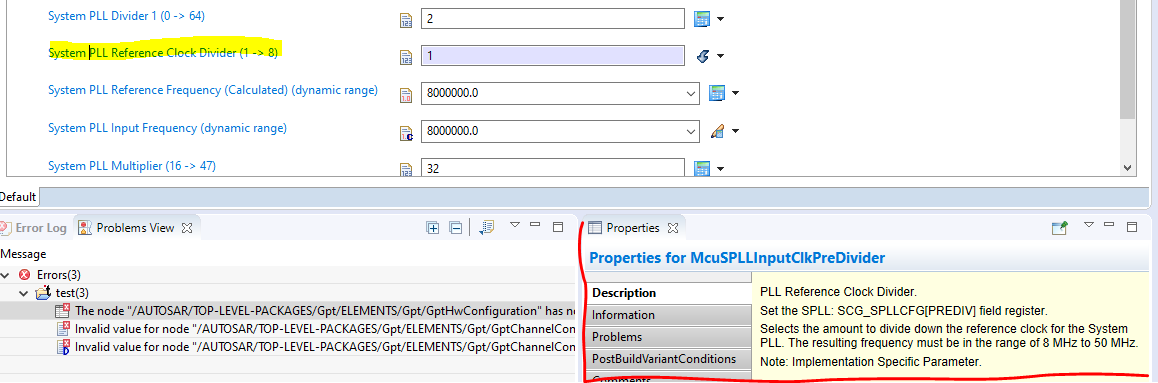
Sometime can be overwhelming to learn and/or remember the meaning of each parameter, and you gave to look again in the official documentation, AUTOSAR, drivers or the microcontroller manual. But Tresos can help you with that. Just click on the parameter name and you will see on the Properties window a nice an useful description. Even sometimes is not enough to understand 100% what the parameter does it gives an idea or it helps you to remember.
Auto populate elements
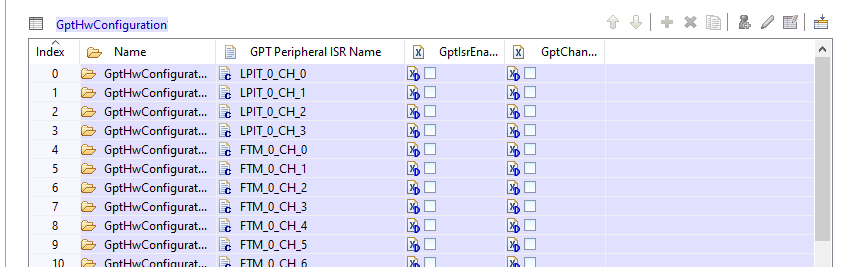
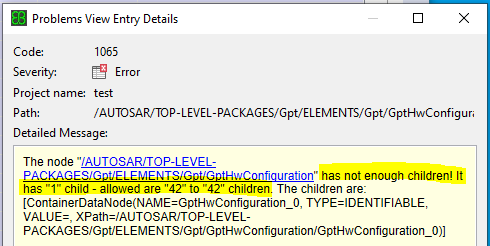
Some times AUTOSAR is going to ask you to set all the elements for a given container, otherwise it wont stop trowing you errors like this one ( says something about its missing children, 42 in total )
As usual you can set one by one by clicking in the corresponding row of column Index or you can click the icon “Add required elements“
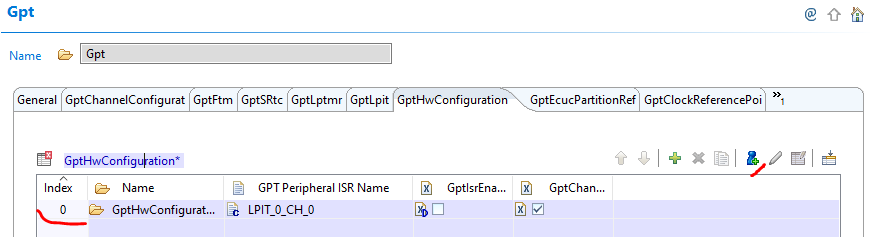
To populate automatically all of the requested elements, now is up to you to set each of them with the applicable options according to your own needs